


All source code for this example can be found at:
Now that you can deploy your websites in a reproducible way. It is time to automate it, so you can deploy all of them with a single click, or at least not have to install all dependencies on your local machine.
For this purpose, you can leverage any continuous deployment platform. But in this example, we use Github Actions since this is where all our source code is deployed originally.
Github Actions is, as of writing this, free for up to 2000 minutes per month, so it should not affect the bottom line for most deployments to be free of charge.
Github Actions can be configured from within your source code repository to run almost any task you can think of. In addition, there is a vast library for specialized or bigger tasks to simplify your workflow, which we will heavily rely on.
You start to use Github Actions by creating a folder in the base of your repository called .github/workflows/in which you will create workflows as plain YAML files. The syntax is quite simple, but indentation matters.
Every workflow starts with a line similar to this.
on: workflow_dispatch
There are several event types, but most often you will either use
pushto start a workflow when changes are pushed to the repositorypull_requesttriggers a workflow when a Pull Request is opened, synchronised, or reopenedworkflow_dispatchto only trigger it manually.
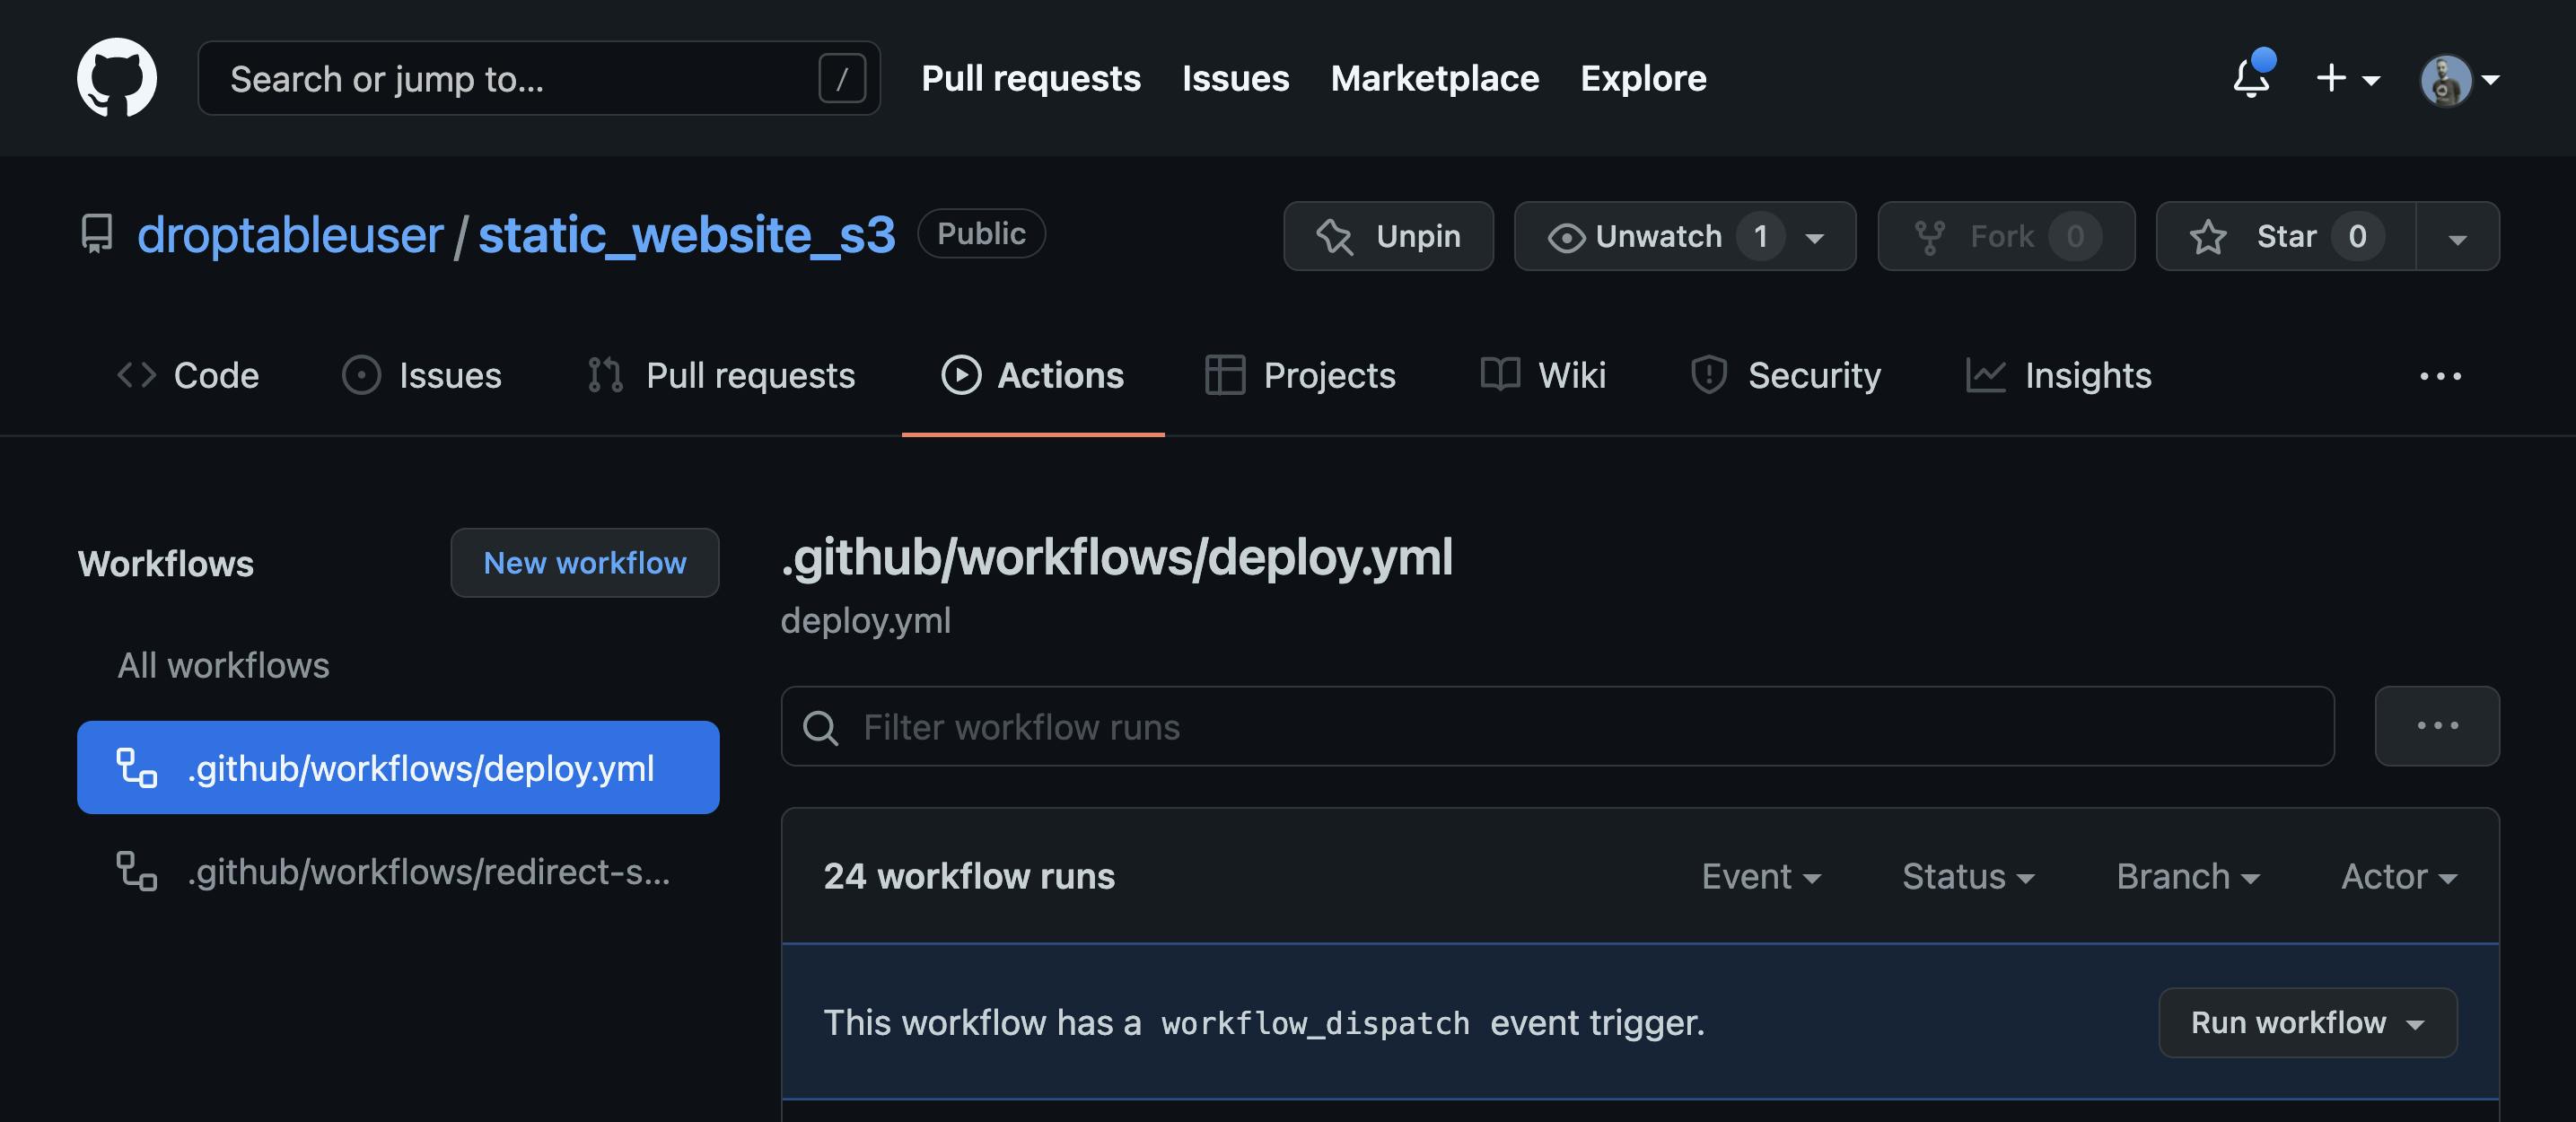
In this example, we only use workflow_dispatch because currently, you are the only person working on it, and you do not need a fully continuous deployment of every commit you push. This enables a button in the Github Actions site, as can be seen in the screenshot below.
The next section describes the actual job to run, it gives it a name, and tells the runner which image to use. This also gives as access to some tools shipped with the image, so basic command line tools like bash, cat and others are available.
jobs:
  deploy-scharitzer-io:
    runs-on: ubuntu-20.04
After this the simple steps to deploy your website are describe. First you checkout the base repository into the working folder so that we can use our code in the Github Action, otherwise the job cannot access your code. You also checkout the website into a path that your CDK code is looking for it in. With the path parameter you can checkout the repository to a specific path, we also need submodules for the website since the website repository uses them.
    steps:
      - name: Checkout base repo
        uses: actions/checkout@v2
      - name: Checkout website
        uses: actions/checkout@v2
         with:
          submodules: true # Fetch Hugo themes (true OR recursive)
          fetch-depth: 0 # Fetch all history for .GitInfo and .Lastmod
          repository: droptableuser/scharitzer.io
          path: website
You also need to setup Hugo in the to build the static website, this is solely dependent on the static site generator you use.
      - name: Setup Hugo
        uses: peaceiris/actions-hugo@v2
        with:
          hugo-version: "latest"
After this step you need to build your website.
      - name: build website
        run: cd website && hugo --minify
This is simple with Hugo as static site generator, it will simply put the generated website into the public folder inside the working directory, which is also where the CDK code is deploying it from. To improve page speed it is also advised to minify your code for production use, as to reduce file sizes.
The last step is now to deploy the full CDK step which also takes care of deploying the website to S3.
      - name: cdk deploy
        uses: youyo/aws-cdk-github-actions@v2
        with:
          cdk_subcommand: "deploy"
          cdk_args: "--require-approval never"
          actions_comment: false
        env:
          DOMAIN: "scharitzer.io"
          STACKNAME: "scharitzer-io-main"
          AWS_ACCESS_KEY_ID: ${{ secrets.AWS_ACCESS_KEY_ID }}
          AWS_SECRET_ACCESS_KEY: ${{ secrets.AWS_SECRET_ACCESS_KEY }}
          AWS_DEFAULT_REGION: "eu-central-1"
The most important options here are the cdk_subcommand which tells your job to "deploy" your stack. Since this is a headless setup, you also need to set the cdk_argsto "--require-approval never" The environment variables set in this step DOMAIN and STACKNAME are specific to your stack and are used within the code. The others (AWS_ACCESS_KEY_ID, AWS_SECRET_ACCESS_KEY and AWS_DEFAULT_REGION) are specific to CDK and need to be set for CDK to work.
This is all that is needed for the website to deploy in a reproducible way, no matter how many website you deploy.